Start a Personal Fundraiser
Create your own calendar, connect Stripe, and share your story.
Start a Personal Pick a Date Fundraiser
Create your own calendar page, connect Stripe, and share your story to raise funds for your cause.
Important: Feature availability
Personal fundraisers are a feature that may not be enabled on all MonthFund instances. This guide applies when the individual fundraiser feature is turned on (NEXT_PUBLIC_INDIVIDUAL_FUNDRAISERS_ENABLED).
If you're part of an organization's campaign, see the Fundraiser First Donation Checklist instead.
Overview
A personal pick a date fundraiser lets you raise money on your own — no organization required. You create a calendar, share it with your circle, and supporters claim days to donate.
Key difference from organization fundraisers: You must connect your own Stripe account before accepting gifts. There is no interim collection option for personal fundraisers.
Step 1: Sign up and verify your email
- Go to
/for-individualsor the personal fundraiser signup page. - Enter your email address.
- Check your inbox for a confirmation link.
- Click the link to verify your account.
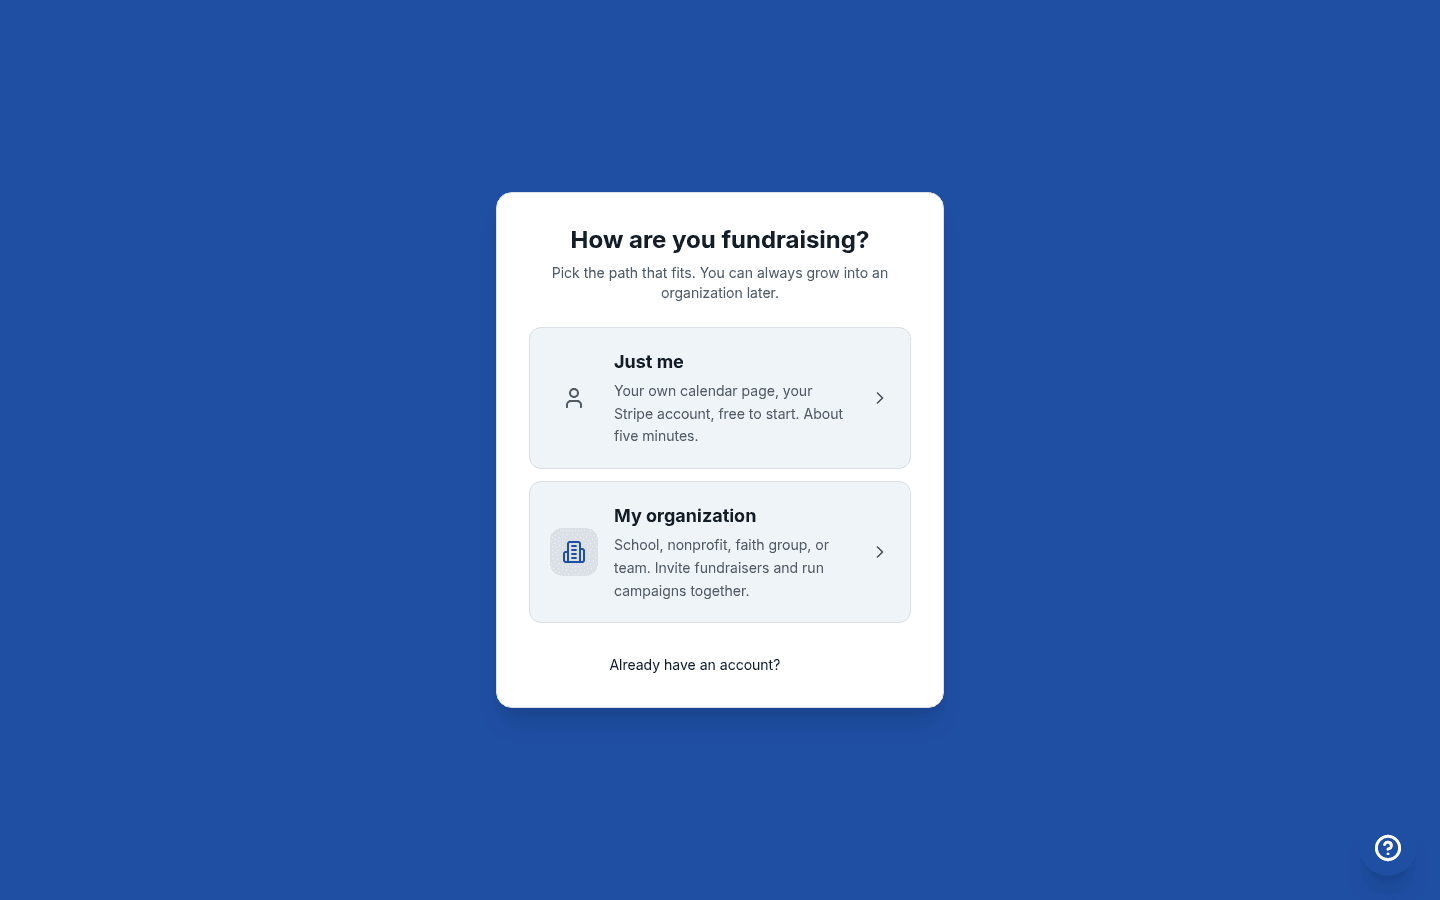 Personal fundraiser landing page
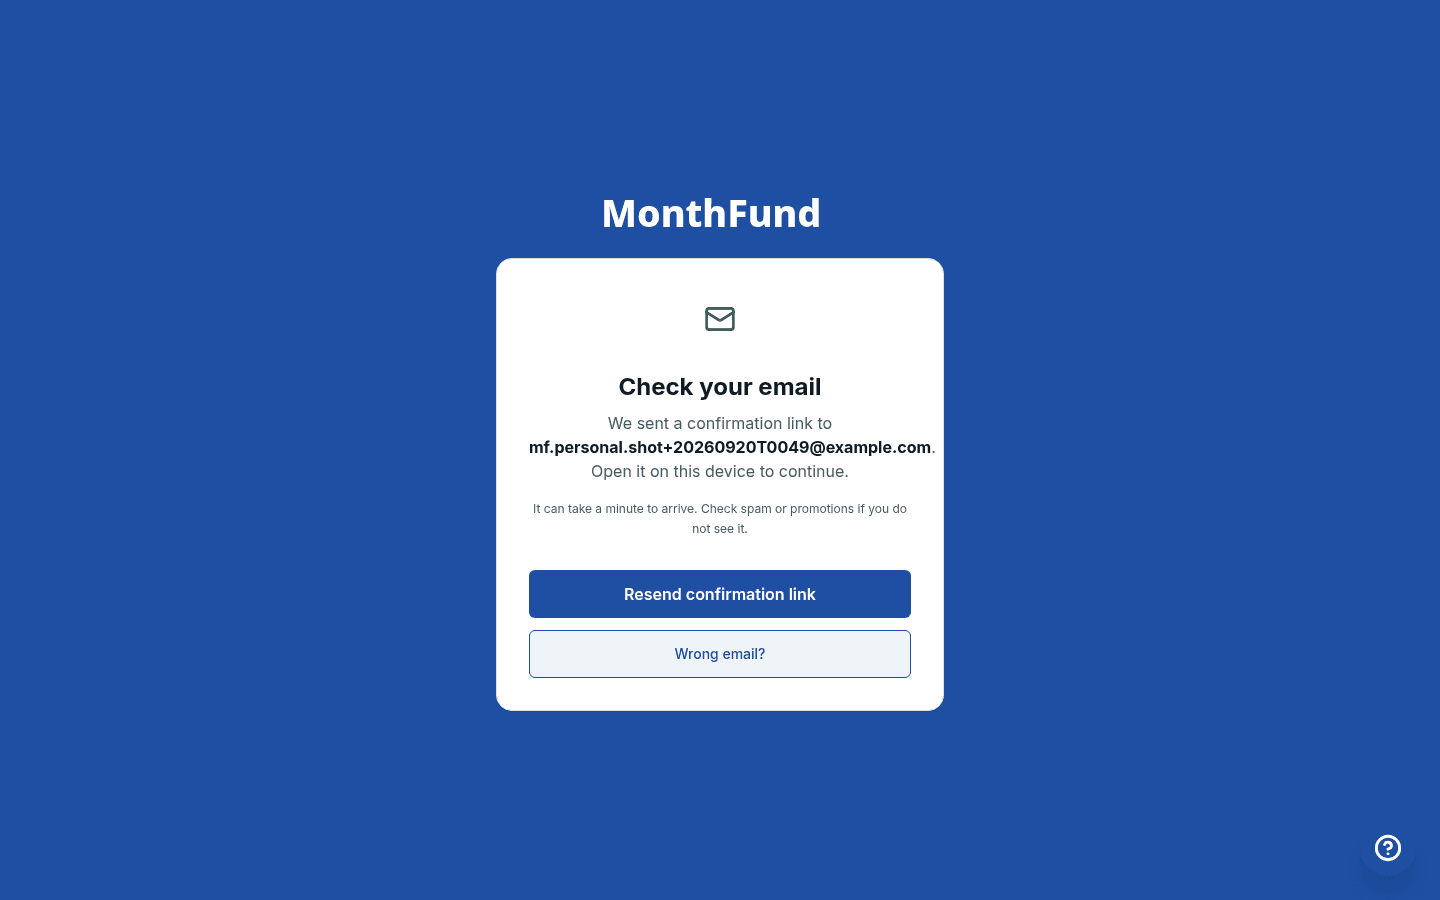 Verify email confirmation
Tip: You can use a magic link or set a password for future logins.
Step 2: Connect Stripe before accepting gifts
This is required. Personal fundraisers cannot accept donations until Stripe Connect is complete.
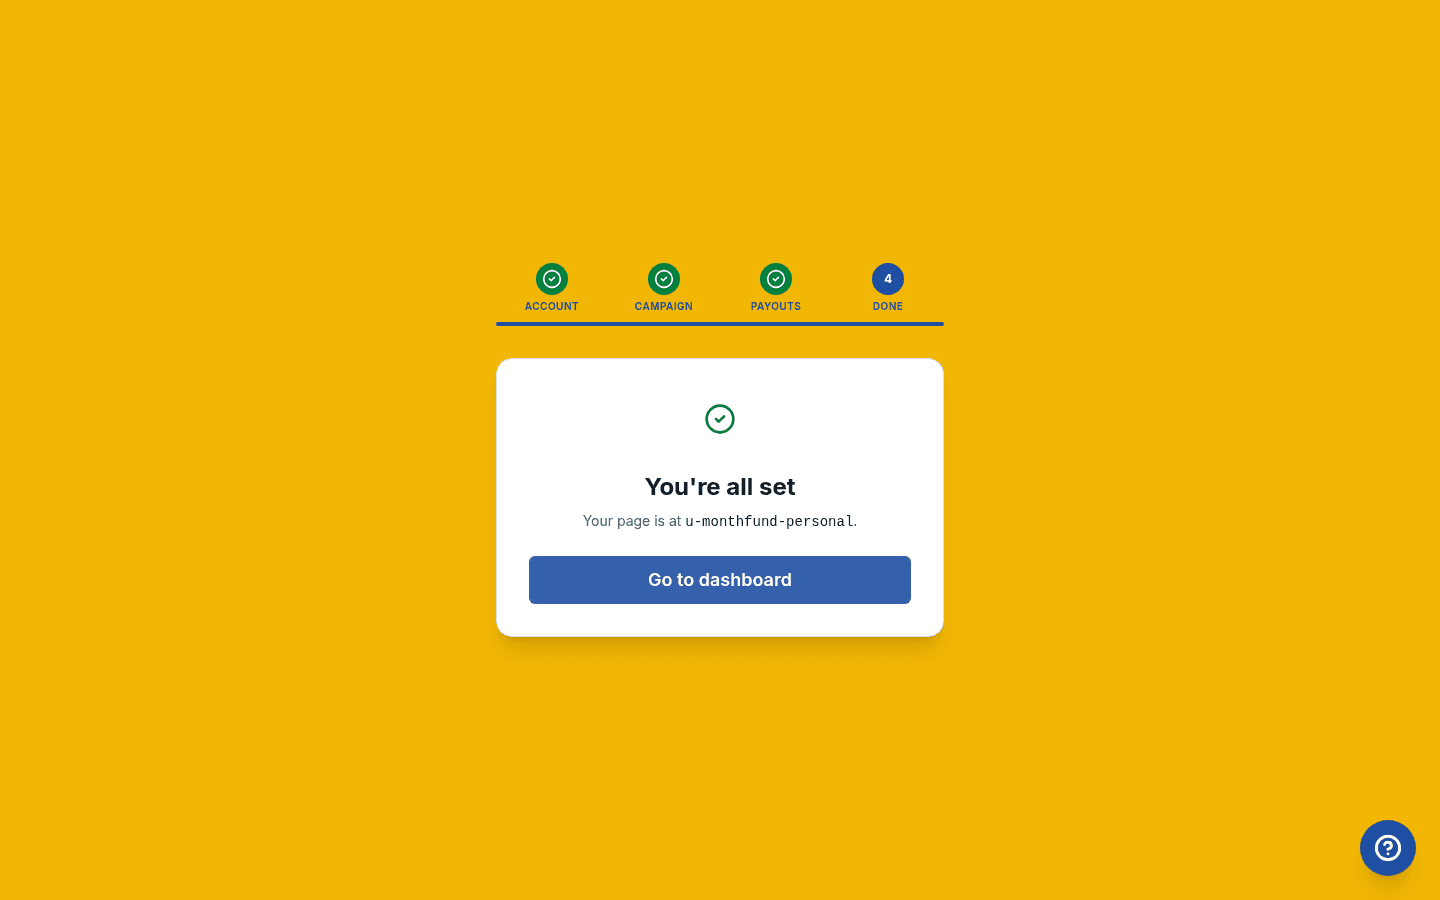
- Go to your Dashboard.
- Click Settings in the navigation.
- Open the Stripe tab.
- Click Connect Stripe Account.
- Complete Stripe's onboarding:
- Business/personal information
- Tax ID or SSN (for US)
- Bank account details for payouts
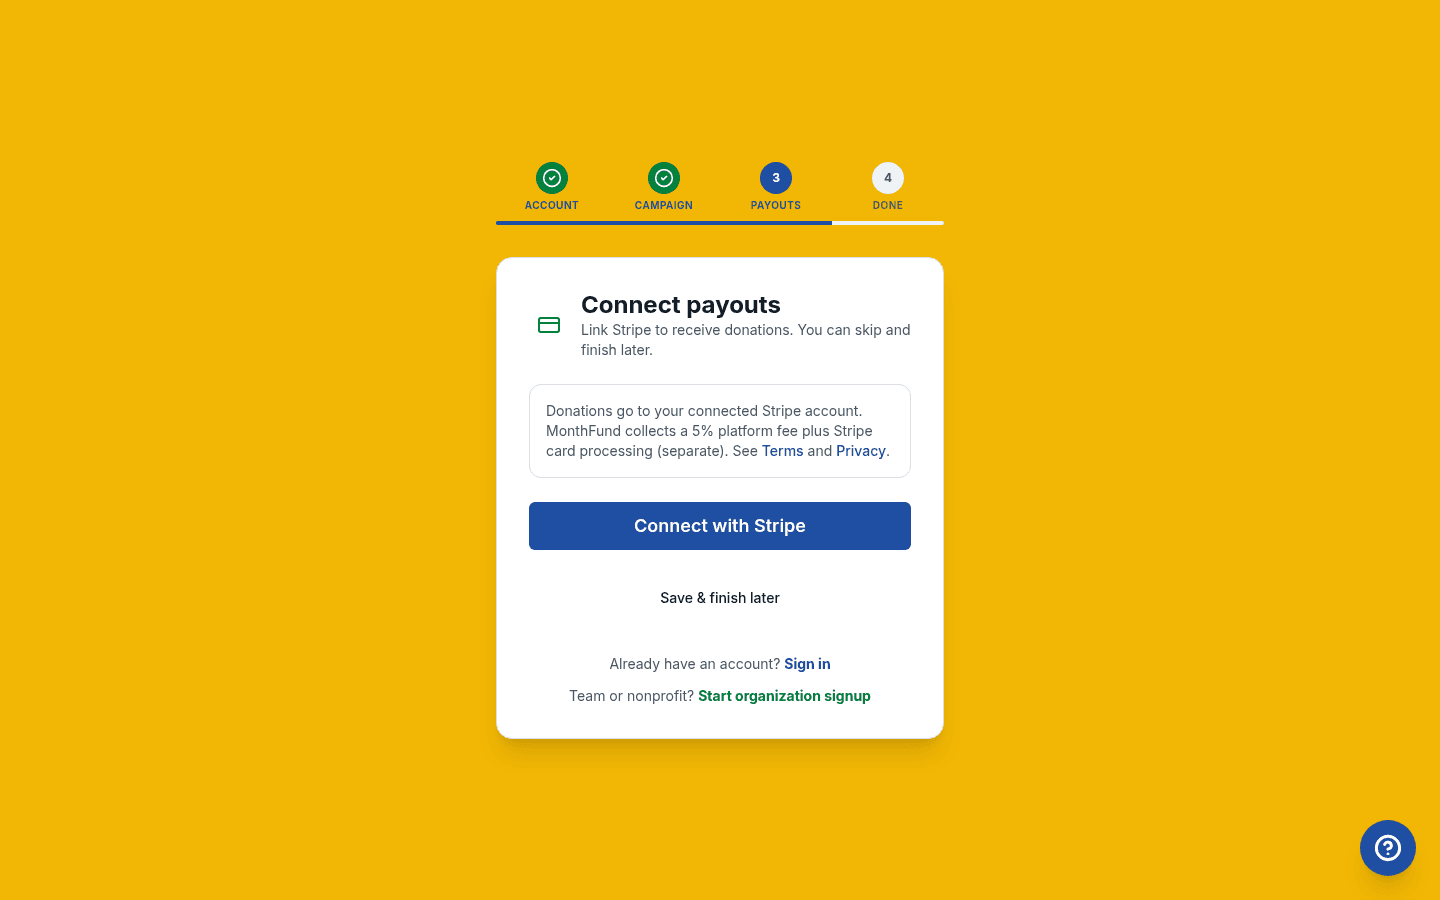 Connect Stripe account settings
Why Stripe first?
Unlike organization workspaces, personal fundraisers don't have an interim collection option. You can prepare your page and sharing messages while Stripe setup is in progress, but supporters can't complete gifts until you're connected.
What you need for Stripe
- Your legal name
- Date of birth and address
- Social Security Number (for US individuals)
- Bank account routing and account numbers
Step 3: Personalize your page
Make your calendar page your own:
- Go to Profile in your dashboard.
- Upload a profile photo — supporters connect better with a face.
- Write your story — explain why you're raising money.
- Add a short intro that appears on your calendar page.
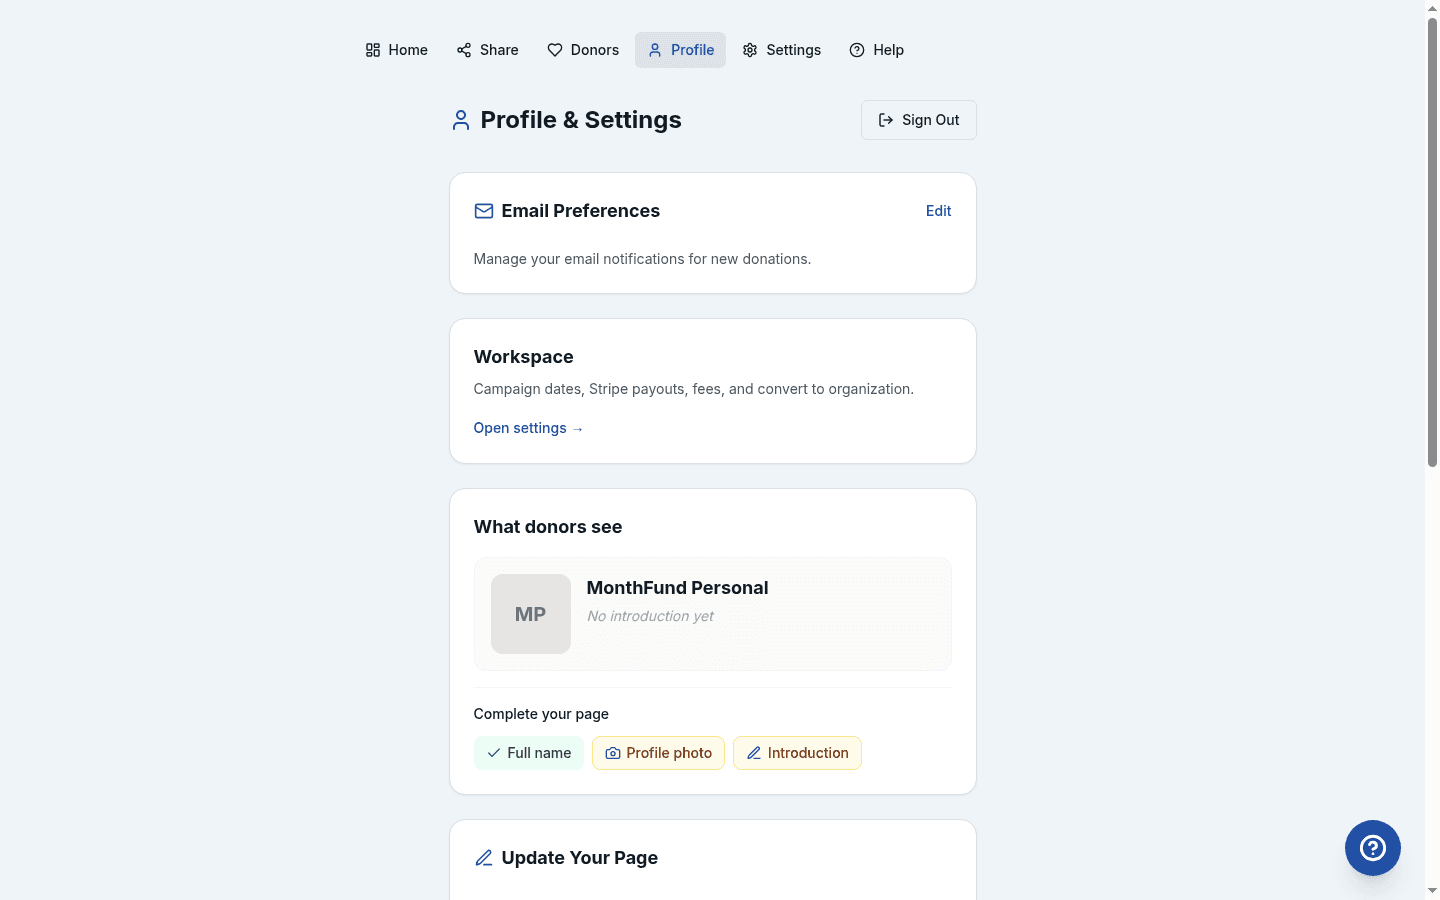 Personalize your profile
Tips for a compelling story
- Be specific about what the money will fund
- Share why this cause matters to you personally
- Keep it concise — 2-3 paragraphs is ideal
- Include a photo or image that represents your goal
Step 4: Set your goal and month
Your calendar is tied to a specific month:
- Go to Settings in your dashboard.
- Confirm or change your campaign month.
- Set your fundraising goal (optional but motivating).
One month at a time
Personal accounts run one active calendar at a time. When the month ends, you can start a new one. If you need multiple simultaneous campaigns, consider converting to an organization.
Step 5: Find your sharing tools
Everything you need to share is on your Share page:
- Click Share in the navigation.
- You'll find:
- Your calendar link — Copy and send to anyone
- QR code — Show on your phone or print for events
- Message templates — Ready-to-send asks for different situations
- Social Kit — Branded graphics for Instagram, Facebook, and more
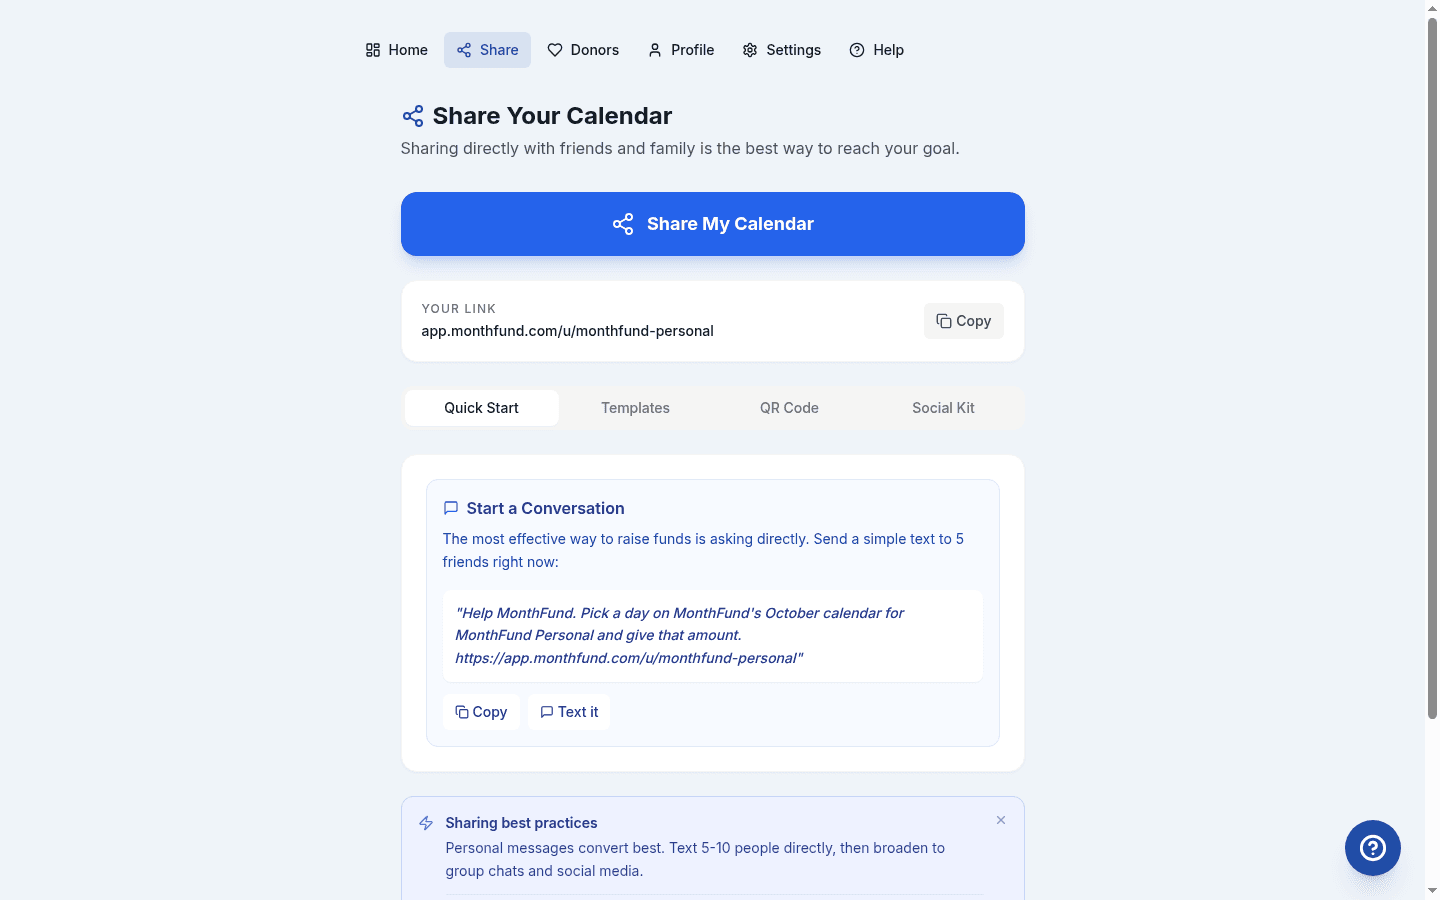 Share page with tools
Step 6: Share with your inner circle first
Start with 5–10 people who know and support you:
Text message (most effective)
"Hey! I'm raising money for [your cause] this month. Would you claim a day on my calendar? Even $5 or $10 makes a difference. [your link]"
Personal email
"Hi [Name], I'm doing something a little different this month — a pick a date fundraiser for [your cause]. Each day of the month is a different dollar amount. Would you consider claiming a day? Here's my calendar: [your link]"
Tip: Days 1–10 are only $1–$10. Remind people that small gifts add up.
Step 7: Use your QR code
Your QR code opens your calendar instantly when scanned:
- Show it on your phone during conversations
- Print it on flyers or event materials
- Add it to a thank-you card or follow-up note
Step 8: Share on social media
After your inner circle has claimed a few days:
- Open the Social Kit tab on your Share page.
- Download branded graphics for:
- Instagram Stories and Reels (9:16)
- Instagram Feed (square)
- Facebook and LinkedIn (1.91:1)
- Post with a personal message about why you're fundraising.
Step 9: Thank every donor
Personal thank-you messages lead to referrals:
- Go to Donors in your navigation.
- See everyone who has claimed a day.
- Click Say Thanks to open a pre-written email.
- The donor is marked as thanked so you know who still needs a note.
 Thank donors page
Step 10: Watch your first donation come in
Your Dashboard shows:
- Days claimed on your calendar
- Total amount raised
- Progress toward your goal
- Recent donor activity
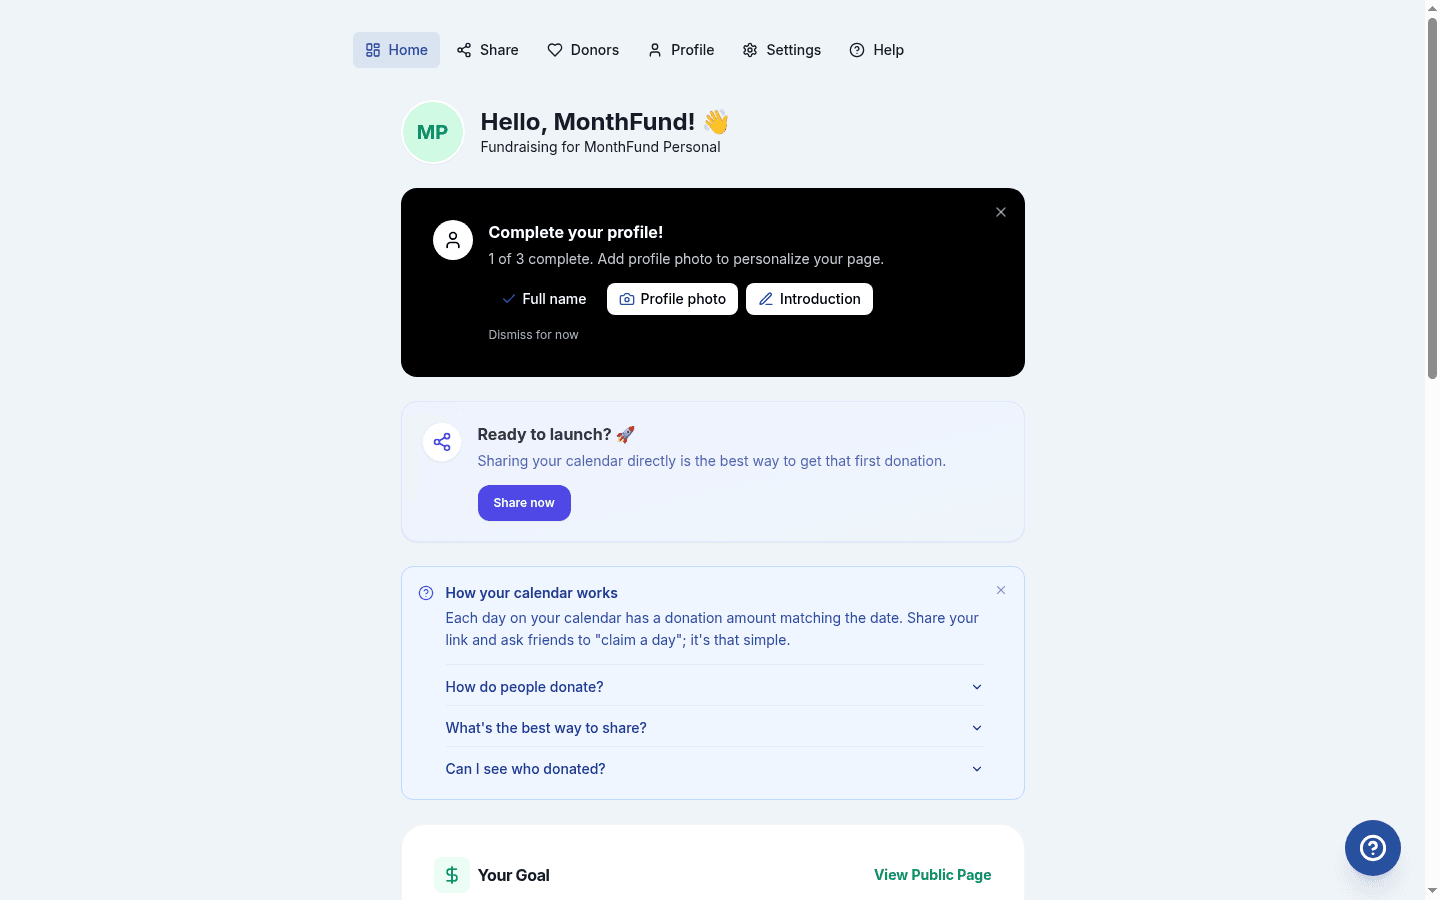 Dashboard showing first donation
Understanding fees
Personal account fees
| Fee type | Amount |
|---|---|
| Platform fee | 5% per donation |
| Stripe processing | ~2.9% + $0.30 (varies) |
Personal accounts have no monthly subscription. You pay only when you receive donations.
Donors can cover fees
At checkout, donors can choose to cover fees so you receive the full day amount.
Converting to an organization
If you want lower fees (3%/2%/0% depending on plan), you can convert to an organization account. Go to Settings → Convert to an organization. Your page, donations, and history stay with the workspace.
What happens between months?
When your calendar month ends:
- Your public page can show a "Notify me when the next one launches" signup
- You can enable optional general gifts between drives
- Start a new month from your dashboard when you're ready
Configure these options in Settings.
Troubleshooting
Donations are failing
Personal fundraisers must have Stripe Connect fully completed before accepting gifts. Go to Settings → Stripe and ensure your status shows "Connected."
I can't find the personal fundraiser signup
The personal fundraiser feature may not be enabled on this MonthFund instance. Check if /for-individuals is available, or contact support.
How do I get nonprofit pricing on Stripe?
After connecting your account, contact Stripe Support with your 501(c)(3) documentation. They'll apply discounted rates (2.2% + $0.30 instead of 2.9% + $0.30).
Can I invite a team?
Personal accounts are for solo fundraisers. To invite team members, convert to an organization from Settings → Convert to an organization.
Personal vs organization accounts
| Feature | Personal | Organization |
|---|---|---|
| Platform fee | 5% | 3%/2%/0% by plan |
| Monthly subscription | None | Free or $49–$199/mo |
| Team fundraisers | No | Yes |
| Interim collection | No | Eligible orgs only |
| Simultaneous campaigns | 1 | 2+ depending on plan |
Checklist summary
- Sign up and verify email
- Connect Stripe (required before accepting gifts)
- Add photo and story on Profile
- Set goal and month in Settings
- Find sharing tools on Share page
- Text 5–10 people directly
- Use QR code for in-person asks
- Post on social with Social Kit graphics
- Thank every donor from Donors page
- Receive your first donation
Next steps
Once you're set up:
- Share daily for the first week to build momentum.
- Thank donors quickly — within 24 hours if possible.
- Reshare mid-month with a progress update.
- Consider converting to an organization if you want team features.
Related resources
Questions? Visit the Help Center or contact support.